第15章:テスタブルMVC:依存を注入する(DIの超入門)🔌🧪
(題材:CampusTodo📚✅)
0) この章のゴール🎯✨
ここまで作ってきたCampusTodoを、テストしやすい形に変身させるよ〜!💪🥰
- 「
new直書き」がなぜテストを邪魔するか、説明できる🧠 - **DI(依存性注入)**の超基本「コンストラクタ注入」を使える🔧
LocalStorageRepositoryを **Fake(偽物)**に差し替えて動かせる🧸✅- 「組み立て担当(Composition Root)」を作って、MVCがスッキリする🧼✨
ちなみに今どきの周辺事情:TypeScriptは 5.9.3 が最新タグとして案内されてるよ📌 (GitHub) テストはVite系なら Vitest が相性良くて、Vitestは「Viteにpowered」って公式が明言してるよ⚡ (vitest.dev) さらにVitest 4系ではブラウザ実行まわりも強化されてる〜🌐 (vitest.dev)
1) まず「テストしにくいコード」ってどんなの?😇💦
ありがちな地獄🔥:クラスの中で new してる
例:Serviceの中でRepositoryを作っちゃうパターン。
// ❌テストしにくい例:依存が隠れてる
export class TodoService {
  private repo = new LocalStorageTodoRepository("campusTodo");

  async add(title: string) {
    const items = await this.repo.load();
    // ...追加して
    await this.repo.save(items);
  }
}
これ、何が困るの?🤔
- テストで LocalStorageを触っちゃう(外部依存が混ざる)💾
- 状態が残ったり消えたりして テストが不安定になる🌀
- 「Serviceのロジックだけ」を検証したいのに、保存処理が邪魔😵💫
2) DIってなに?(超ざっくり)🌼
DI(Dependency Injection)は、ひとことで言うと👇
「必要な部品(依存)を、外から渡してあげる」 ことだよ〜🔌✨
- ServiceがRepositoryを「作る」のをやめる🙅♀️
- 代わりに もらう(注入する)🎁
- だからテストではFakeに差し替えできる🧸✅
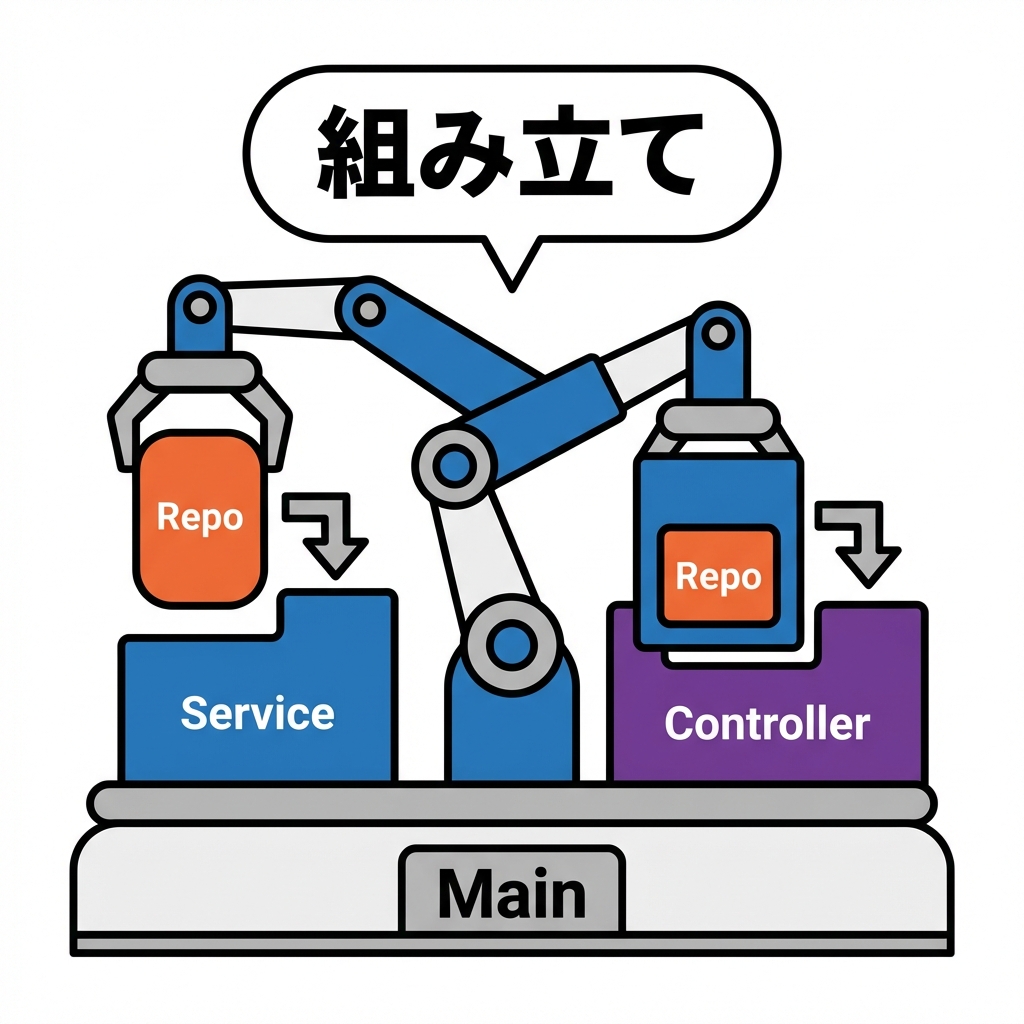
3) 今日の設計図(依存の向き)🗺️✨
目指す形はこれ👇(わかりやすさ最優先💞)
- Controller → Service → Repository
- Controller → View(表示はViewに任せる)
ポイント🌟:
- 「組み立て(newする)」の仕事を main 側に寄せる
- 中身(Service/Controller)は「受け取って使うだけ」になる
4) Step1:Repositoryを“差し替え可能”にする🔁🧲
4-1) まずは契約(interface)を作る📜✨
// src/app/ITodoRepository.ts
import type { TodoItem } from "../domain/TodoItem";

export interface ITodoRepository {
  load(): Promise<TodoItem[]>;
  save(items: TodoItem[]): Promise<void>;
}
TypeScriptの
interfaceは「こういう形だよね」っていう契約を作るのに便利✨(型安全の土台)
4-2) 本番用:LocalStorageRepository(既にある想定)💾
// src/infra/LocalStorageTodoRepository.ts
import type { ITodoRepository } from "../app/ITodoRepository";
import type { TodoItem } from "../domain/TodoItem";

export class LocalStorageTodoRepository implements ITodoRepository {
  constructor(private readonly key: string) {}

  async load(): Promise<TodoItem[]> {
    const raw = localStorage.getItem(this.key);
    if (!raw) return [];
    return JSON.parse(raw) as TodoItem[];
  }

  async save(items: TodoItem[]): Promise<void> {
    localStorage.setItem(this.key, JSON.stringify(items));
  }
}
4-3) テスト用:InMemory(Fake)Repository🧸
「保存」をメモリ配列でやるだけ。最強に軽い✨
// src/infra/InMemoryTodoRepository.ts
import type { ITodoRepository } from "../app/ITodoRepository";
import type { TodoItem } from "../domain/TodoItem";

export class InMemoryTodoRepository implements ITodoRepository {
  private items: TodoItem[];

  constructor(seed: TodoItem[] = []) {
    // 外から渡された配列をそのまま持つと事故るのでコピー推奨💡
    this.items = [...seed];
  }

  async load(): Promise<TodoItem[]> {
    return [...this.items];
  }

  async save(items: TodoItem[]): Promise<void> {
    this.items = [...items];
  }
}
5) Step2:ServiceにRepositoryを注入する(コンストラクタ注入)🔌✨
// src/app/TodoService.ts
import type { ITodoRepository } from "./ITodoRepository";
import type { TodoItem } from "../domain/TodoItem";

export class TodoService {
  constructor(private readonly repo: ITodoRepository) {}

  async add(title: string): Promise<void> {
    const items = await this.repo.load();

    // 例:最低限のロジック(本当は第9章の不変条件などがここに絡む想定🛡️)
    const newItem: TodoItem = {
      id: crypto.randomUUID(),
      title,
      done: false,
      createdAt: new Date().toISOString(),
    };

    await this.repo.save([newItem, ...items]);
  }

  async toggleDone(id: string): Promise<void> {
    const items = await this.repo.load();
    const next = items.map((t) => (t.id === id ? { ...t, done: !t.done } : t));
    await this.repo.save(next);
  }

  async getAll(): Promise<TodoItem[]> {
    return this.repo.load();
  }
}
ここがDIの芯❤️
- Serviceの中から
new LocalStorage...が消えた!🎉 - 何RepositoryでもOKになった!🔁✨
6) Step3:Controllerにも“外から渡す”を徹底する🚦✨
ViewもControllerの中でnewしちゃうと、UI絡みが重くなりがち😵
だからViewも「契約」で渡しちゃうと綺麗だよ〜🎀
6-1) Viewの契約(interface)を作る🎨
// src/ui/ITodoView.ts
import type { TodoItem } from "../domain/TodoItem";

export interface ITodoView {
  render(items: TodoItem[]): void;

  onAdd(handler: (title: string) => void): void;
  onToggleDone(handler: (id: string) => void): void;

  showError(message: string): void;
}
6-2) Controllerは「受け取ってつなぐ」だけにする🧠➡️🎛️
// src/app/TodoController.ts
import type { TodoService } from "./TodoService";
import type { ITodoView } from "../ui/ITodoView";
export class TodoController {
constructor(
private readonly service: TodoService,
private readonly view: ITodoView
) {}
async init(): Promise<void> {
// イベント接続(入力)
this.view.onAdd(async (title) => {
try {
await this.service.add(title);
await this.refresh();
} catch {
this.view.showError("追加できなかったよ〜🥲 もう一回試してみて🙏");
}
});
this.view.onToggleDone(async (id) => {
try {
await this.service.toggleDone(id);
await this.refresh();
} catch {
this.view.showError("切り替え失敗〜😵💫 画面を更新してみて🙏");
}
});
// 初回表示
await this.refresh();
}
private async refresh(): Promise<void> {
const items = await this.service.getAll();
this.view.render(items);
}
}
Controllerが「交通整理🚦」っぽくなってきた〜!🥳✨
7) Step4:組み立て担当(Composition Root)を作る🧩✨
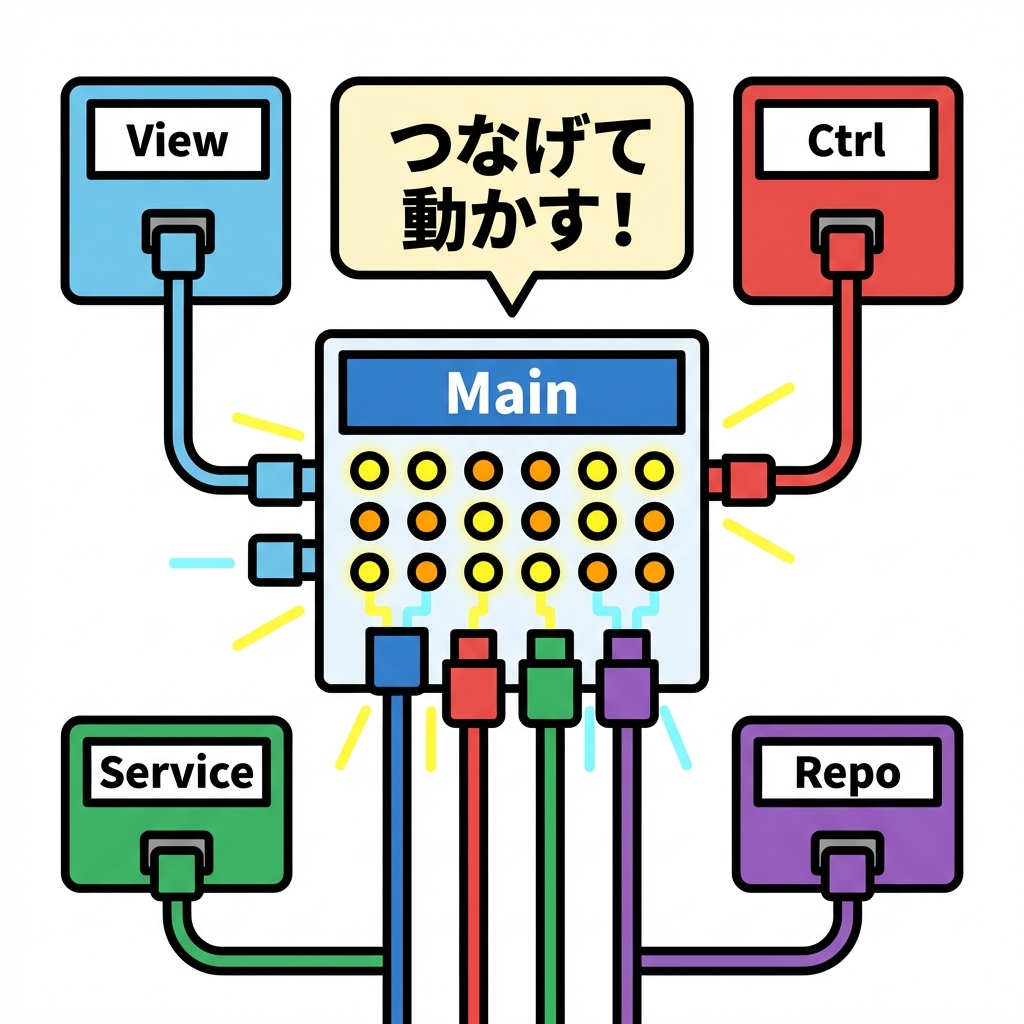
newはここに集約!(←超大事‼️)
アプリの入口(例:main.ts)で全部組み立てるよ〜🧷
// src/main.ts
import { LocalStorageTodoRepository } from "./infra/LocalStorageTodoRepository";
import { TodoService } from "./app/TodoService";
import { TodoController } from "./app/TodoController";
import { TodoView } from "./ui/TodoView"; // 既存の実装クラス想定

const repo = new LocalStorageTodoRepository("campusTodo");
const service = new TodoService(repo);

const view = new TodoView(document.querySelector("#app")!);
const controller = new TodoController(service, view);

controller.init();
これで、もしテストやデバッグでFakeを使いたかったら…👇
// 例:repoだけ差し替え(この書き方自体がDIの嬉しさ💞)
import { InMemoryTodoRepository } from "./infra/InMemoryTodoRepository";

const repo = new InMemoryTodoRepository([]);
const service = new TodoService(repo);
// あとは同じ
8) 演習:Fakeで動作確認(手動でOK)✅🧸
ミッション🎒
InMemoryTodoRepositoryを使うようにmain.tsを一瞬だけ差し替え- Todoを追加して、リロードしても消える(=メモリだから)ことを確認
LocalStorageTodoRepositoryに戻して、リロードしても残ることを確認
確認ポイント👀✨
- Service/Controllerのコードは変えてないのに動作が変わる!😳
- 「外部依存は差し替えられる部品」って感覚がつかめる💡
9) AI活用プロンプト(そのままコピペOK)🤖💬✨
- 「このプロジェクトで
newしてる箇所を一覧にして、テストしにくい順に並べて」🔍 - 「
TodoServiceの依存を注入に変えるリファクタ案を、差分が小さくなる順で3案ちょうだい」✂️ - 「
ITodoViewを満たす FakeView を作って。受け取った引数を記録できるようにして」🧾 - 「RepositoryのFakeを作るときに気をつけること(コピー、参照共有の事故)をチェックリスト化して」✅
10) よくあるミス集(先に潰すよ〜😎✨)
❌ ミス1:結局Serviceの中で new しちゃう
👉 “外部に触るもの”は注入(Repository/Clock/HTTPなど)
❌ ミス2:Fakeが本番と挙動違いすぎる
👉 Fakeは「最小でOK」だけど、load/saveの形だけは揃える🧸
❌ ミス3:DIコンテナをいきなり入れて迷子
👉 まずは今回の「手動DI(組み立てをmainに集約)」が最強に学びやすいよ🧠✨
(TypeScriptはinterfaceが実行時に消えるので、重いDIはトークン設計が必要になりがち💦)
まとめ🎀✨
この章でやったことはシンプルで強いよ〜💪🥰
new直書きを減らして、依存を「外から渡す」ようにした🔌- RepositoryをFakeに差し替えできるようにした🧸
- 組み立て(Composition Root)に
newを集約した🧩
次の章(第16章)では、この土台の上で テスト(Vitest)を気持ちよく書けるようになるよ🧪✨ VitestはViteと相性が良く、最近のVitest 4系は Vite 6+ / Node 20+ が要件として案内されてるよ📌 (vitest.dev)
もし今のCampusTodoのコード(特にTodoServiceとTodoControllerとRepository周り)を貼ってくれたら、**「どこをどうDIに変えると一番キレイか」**を、差分小さめで具体的にリファクタ案出すね〜🫶✨